


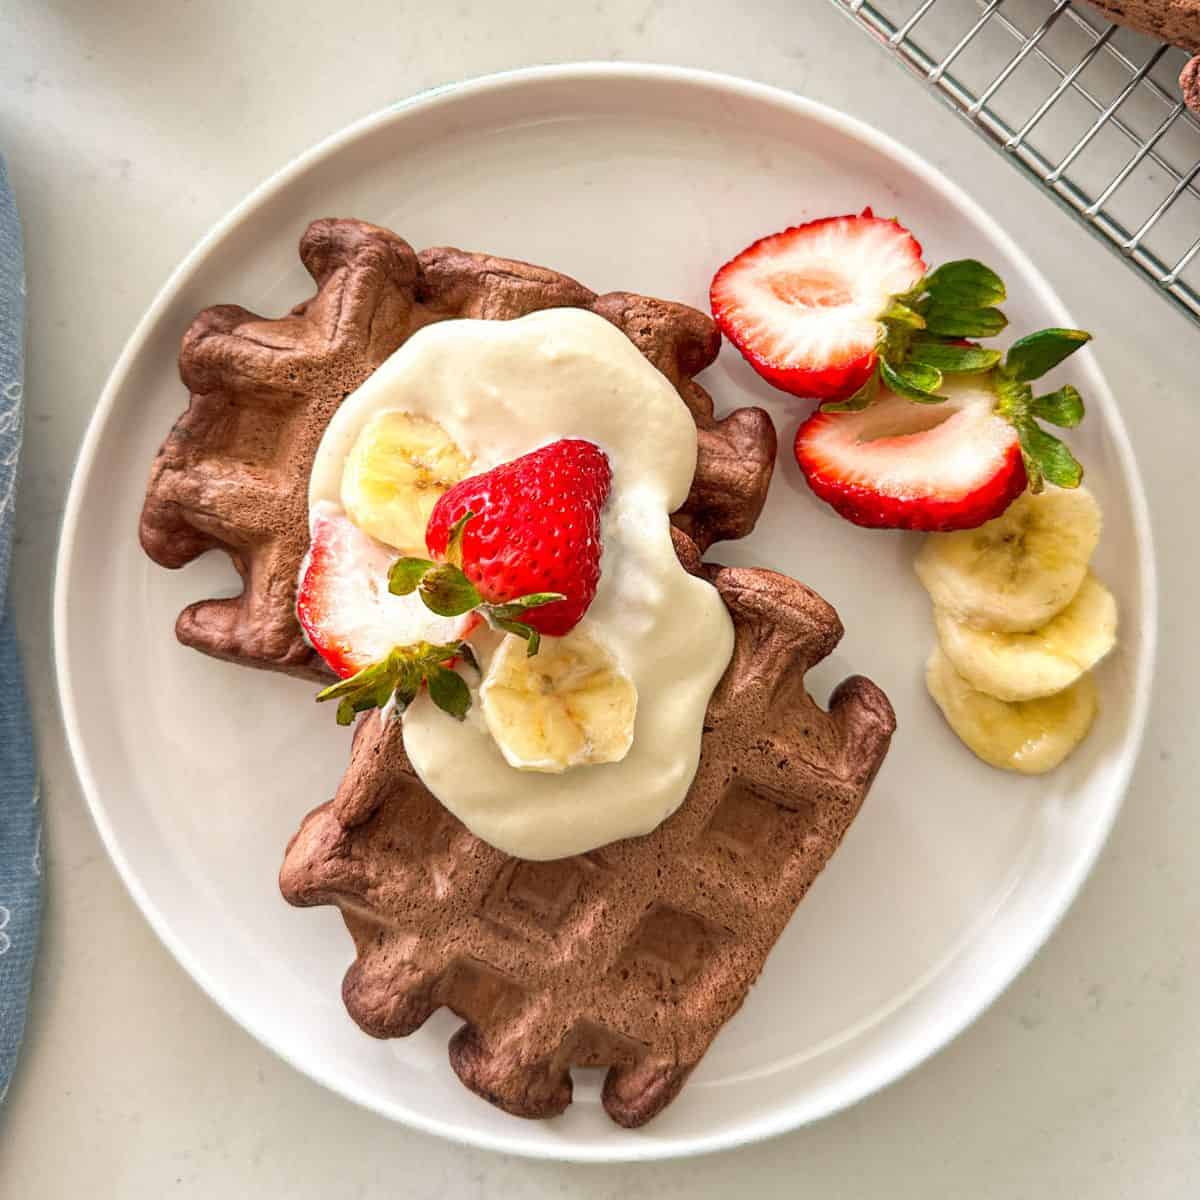
Craving a quick, chocolatey treat? Whip up these 5-ingredient vegan chocolate waffles—rich, fluffy, and completely delicious. Simple to make, impossible to resist!
Perfect for lazy mornings or late-night cravings, these waffles come together in minutes—no fancy ingredients, no fuss.
Just 5 pantry staples, one bowl, and a hot waffle iron stand between you and a stack of warm, chocolatey bliss.
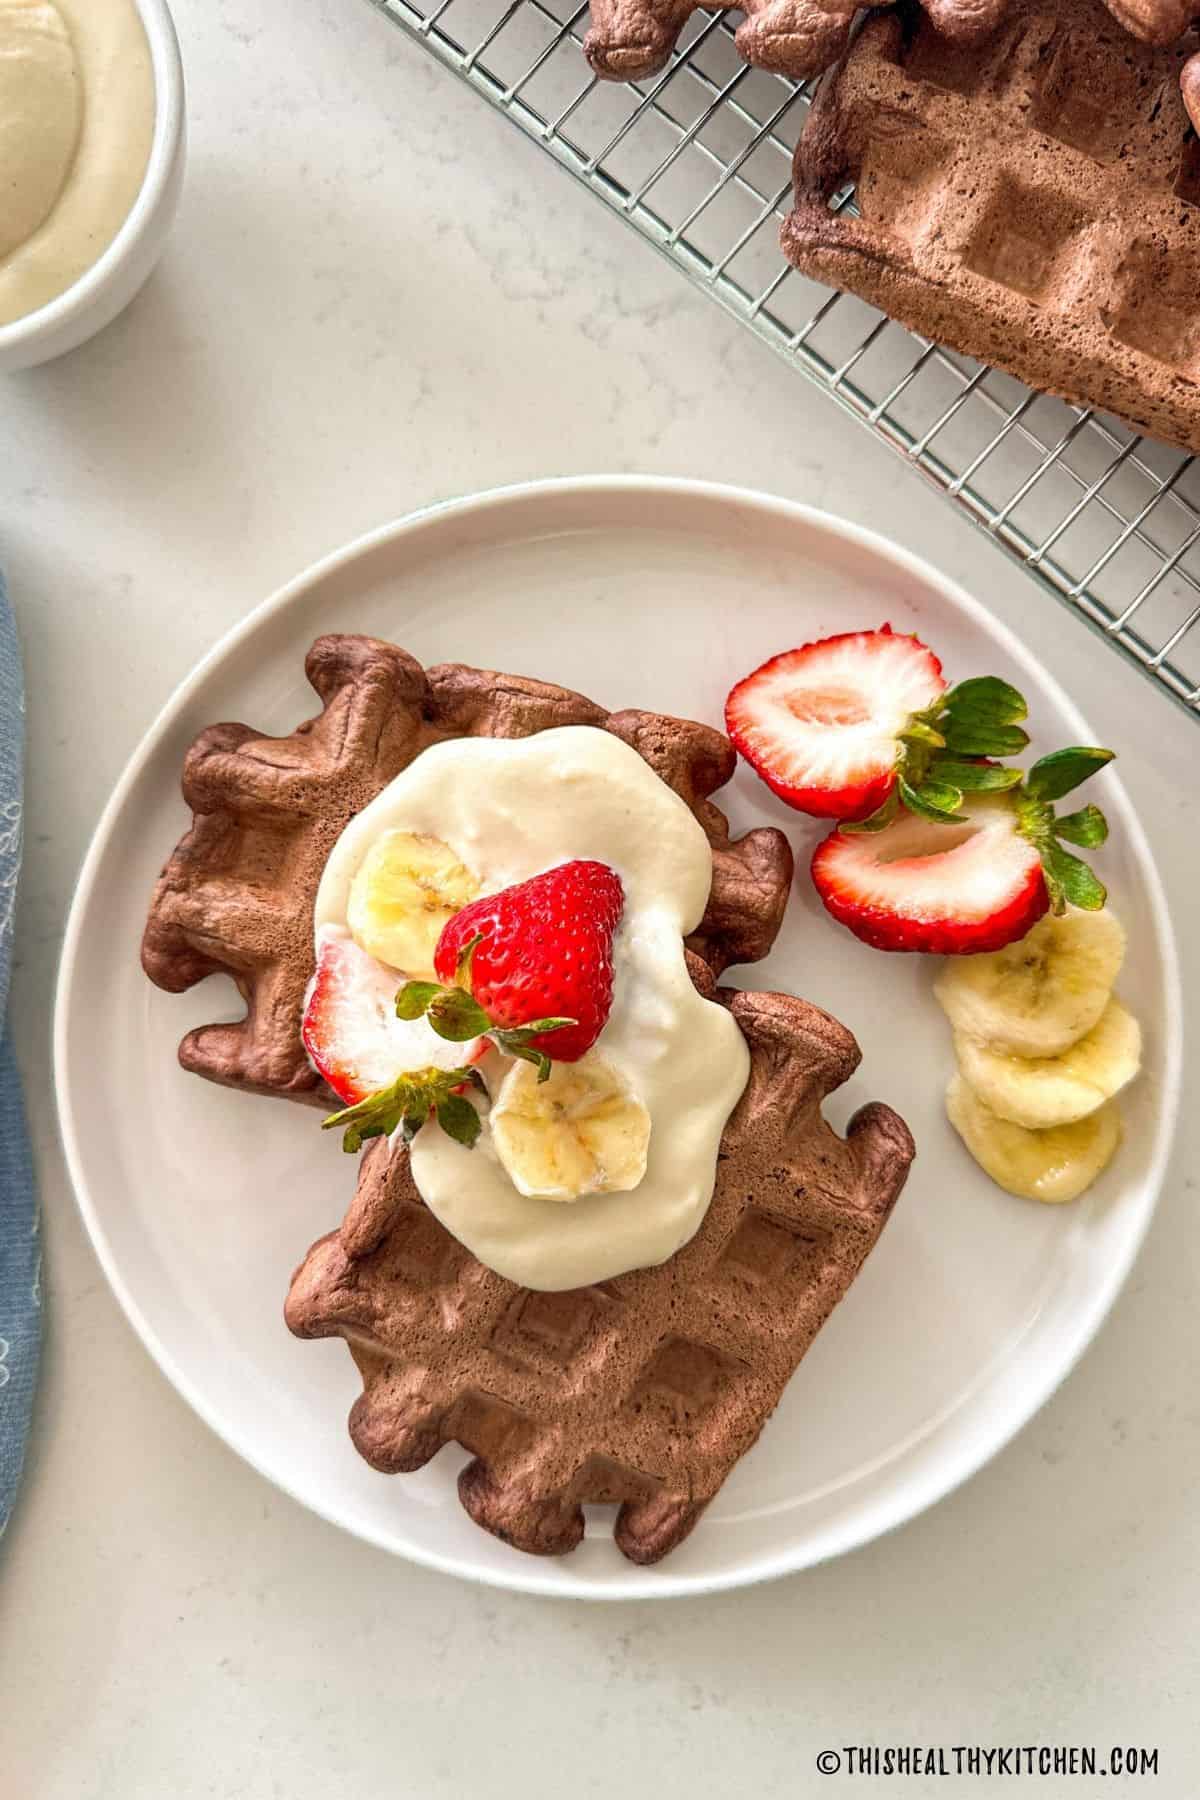
Whether you top them with fresh fruit, a drizzle of maple syrup, our healthy Nutella, or a scoop of dairy-free ice cream, this recipe proves that simple can still be seriously delicious.
Jump to:
Ingredients + Substitutions
Here’s everything you’ll need to make these delicious vegan chocolate waffles.

- Flour: I’ve made these using whole wheat flour and white all-purpose flour. Both work well, and I didn’t notice much difference, so to keep these waffles wholesome and free from refined ingredients, use whole wheat. I have not tested this one with gluten-free flour yet.
- Cocoa powder: Use unsweetened raw cocoa powder for a chocolate flavour, without added sugar.
- Baking powder: Use active baking powder. Open bottles of baking powder sitting in the pantry for 6+ months may lose effectiveness.
- Milk: Any plant-based milk works well. My preferences are almond milk or soy milk.
- Vanilla: Use pure vanilla extract without any artificial flavours.
Instructions
(This is a summary with step by step photos, full recipe measurements and instructions are in the recipe card below.)
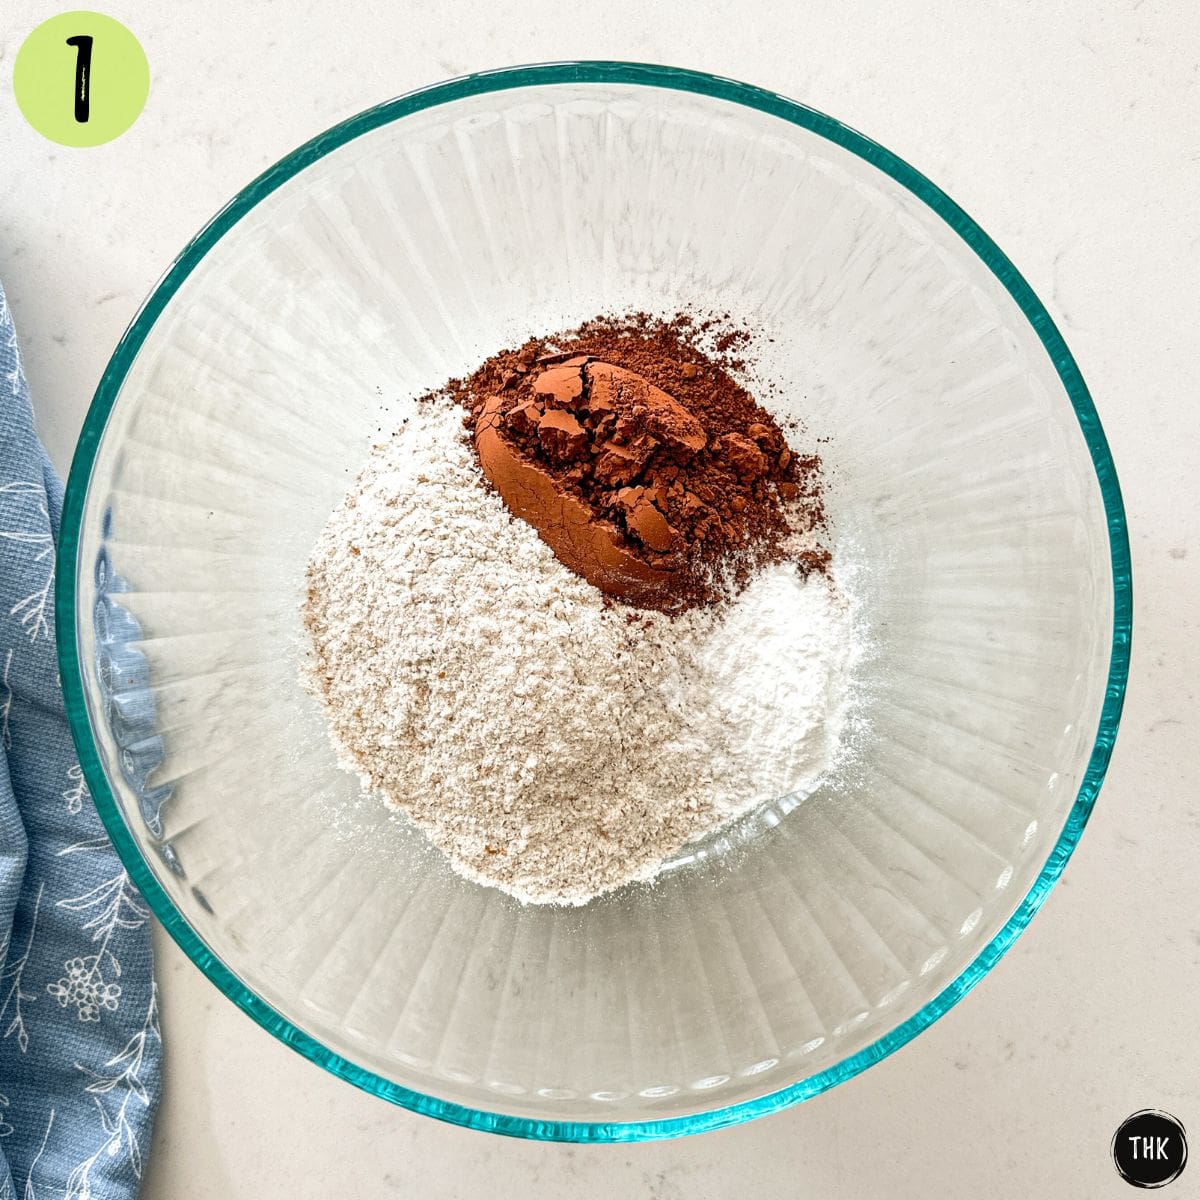
Add the dry ingredients to a large bowl and whisk until combined.
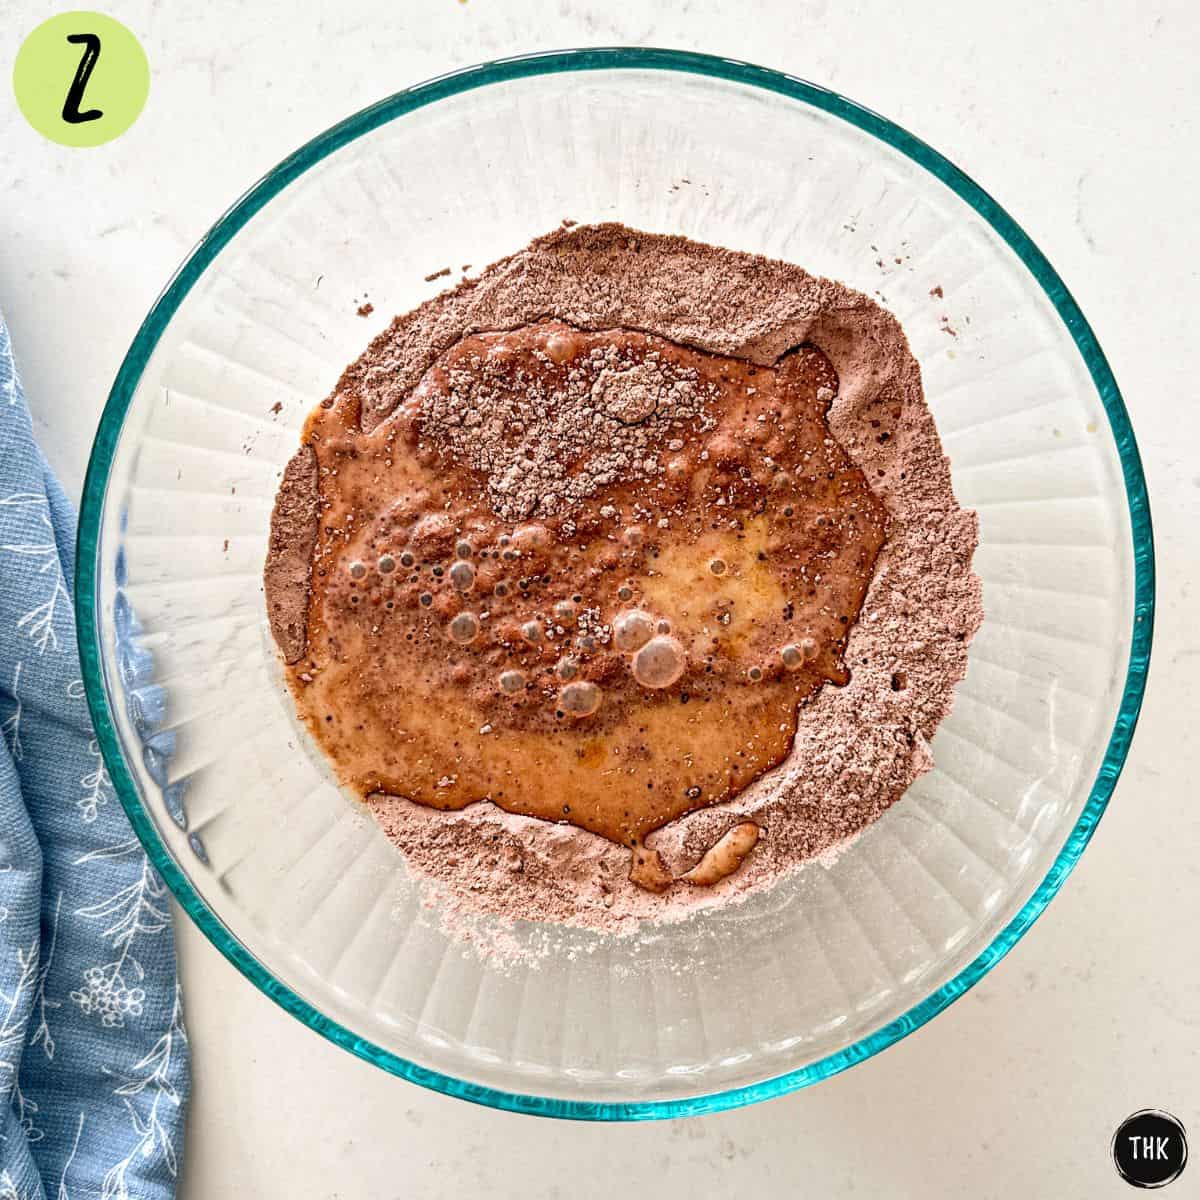
Then add the wet ingredients to the same bowl.
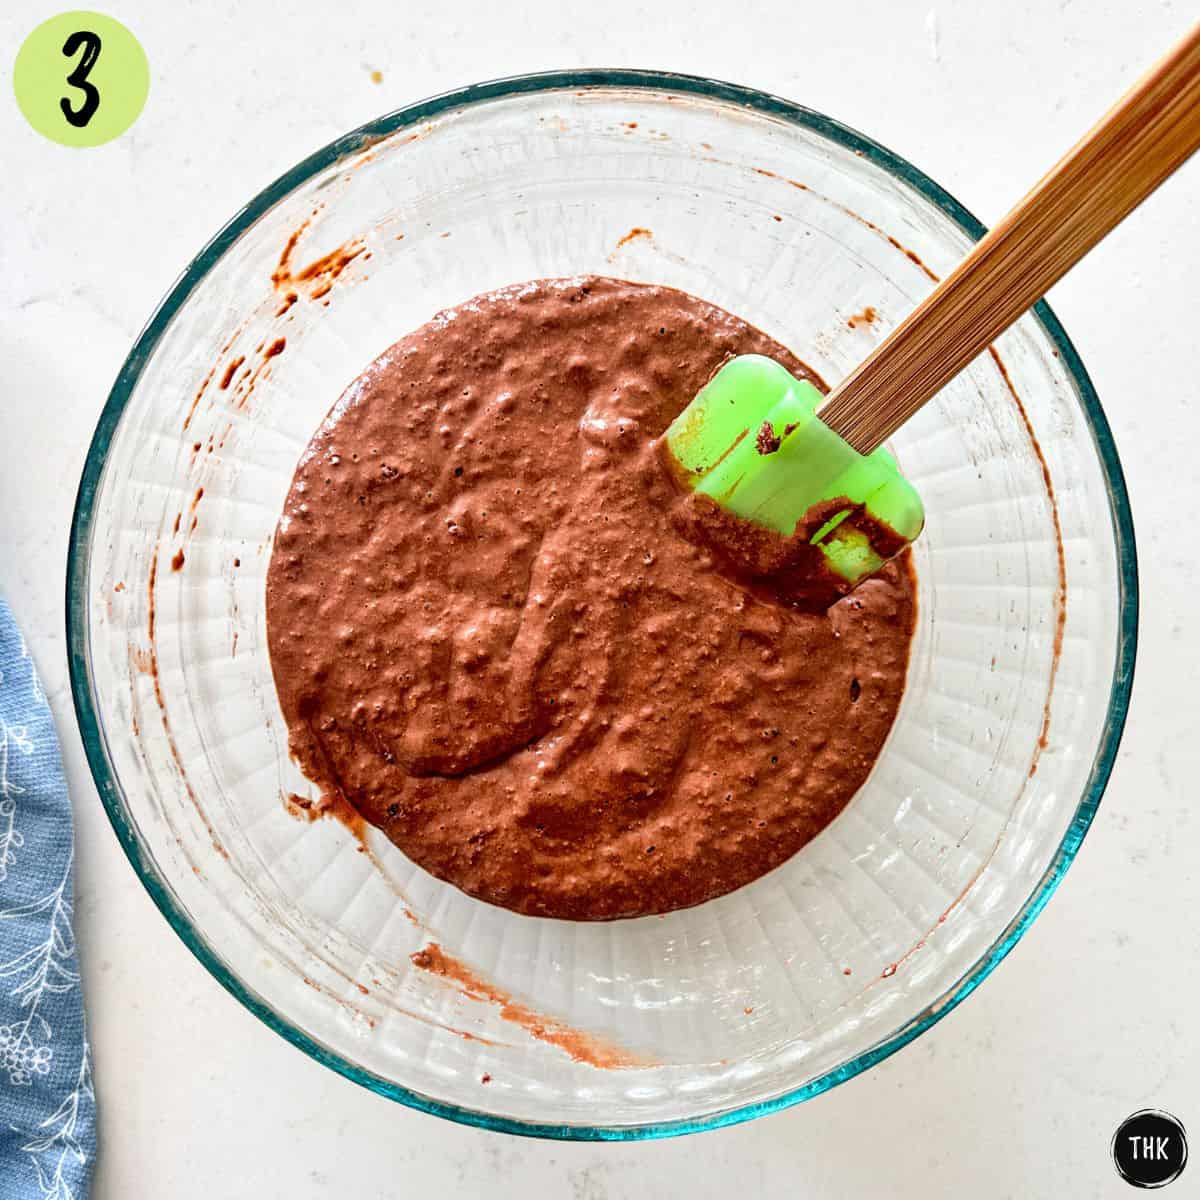
Stir until combined without overmixing the batter.
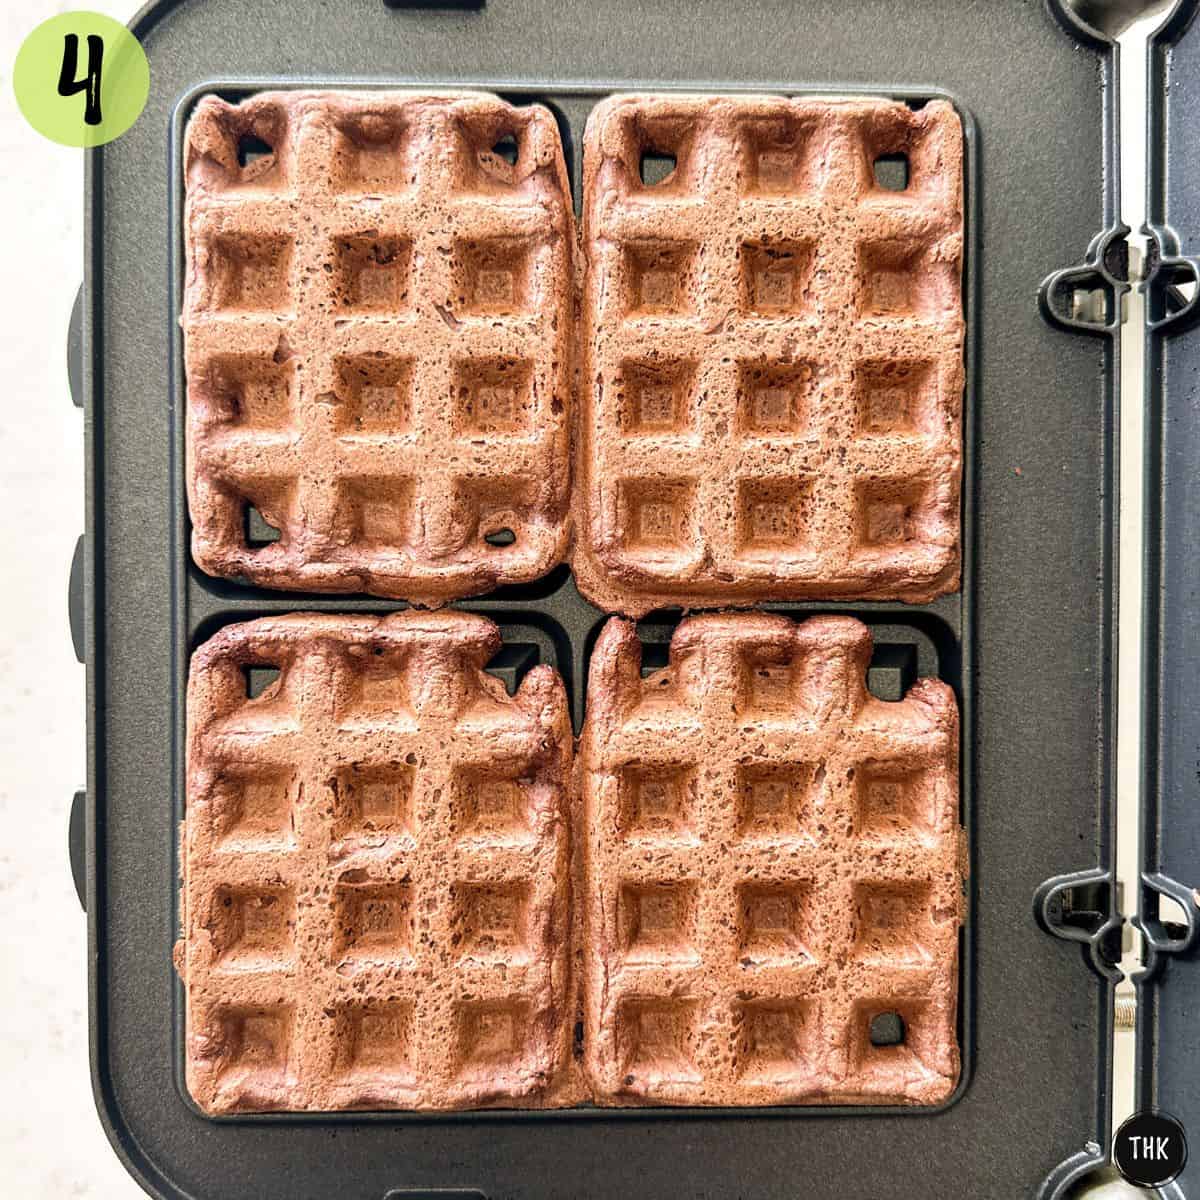
Pour the batter and cook the waffles on your preheated waffle iron.
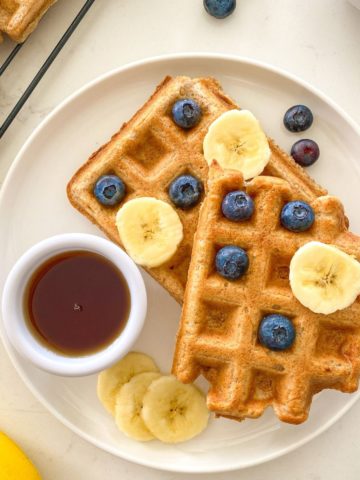
Serve this delicious chocolate waffle recipe with all of your favourite toppings.
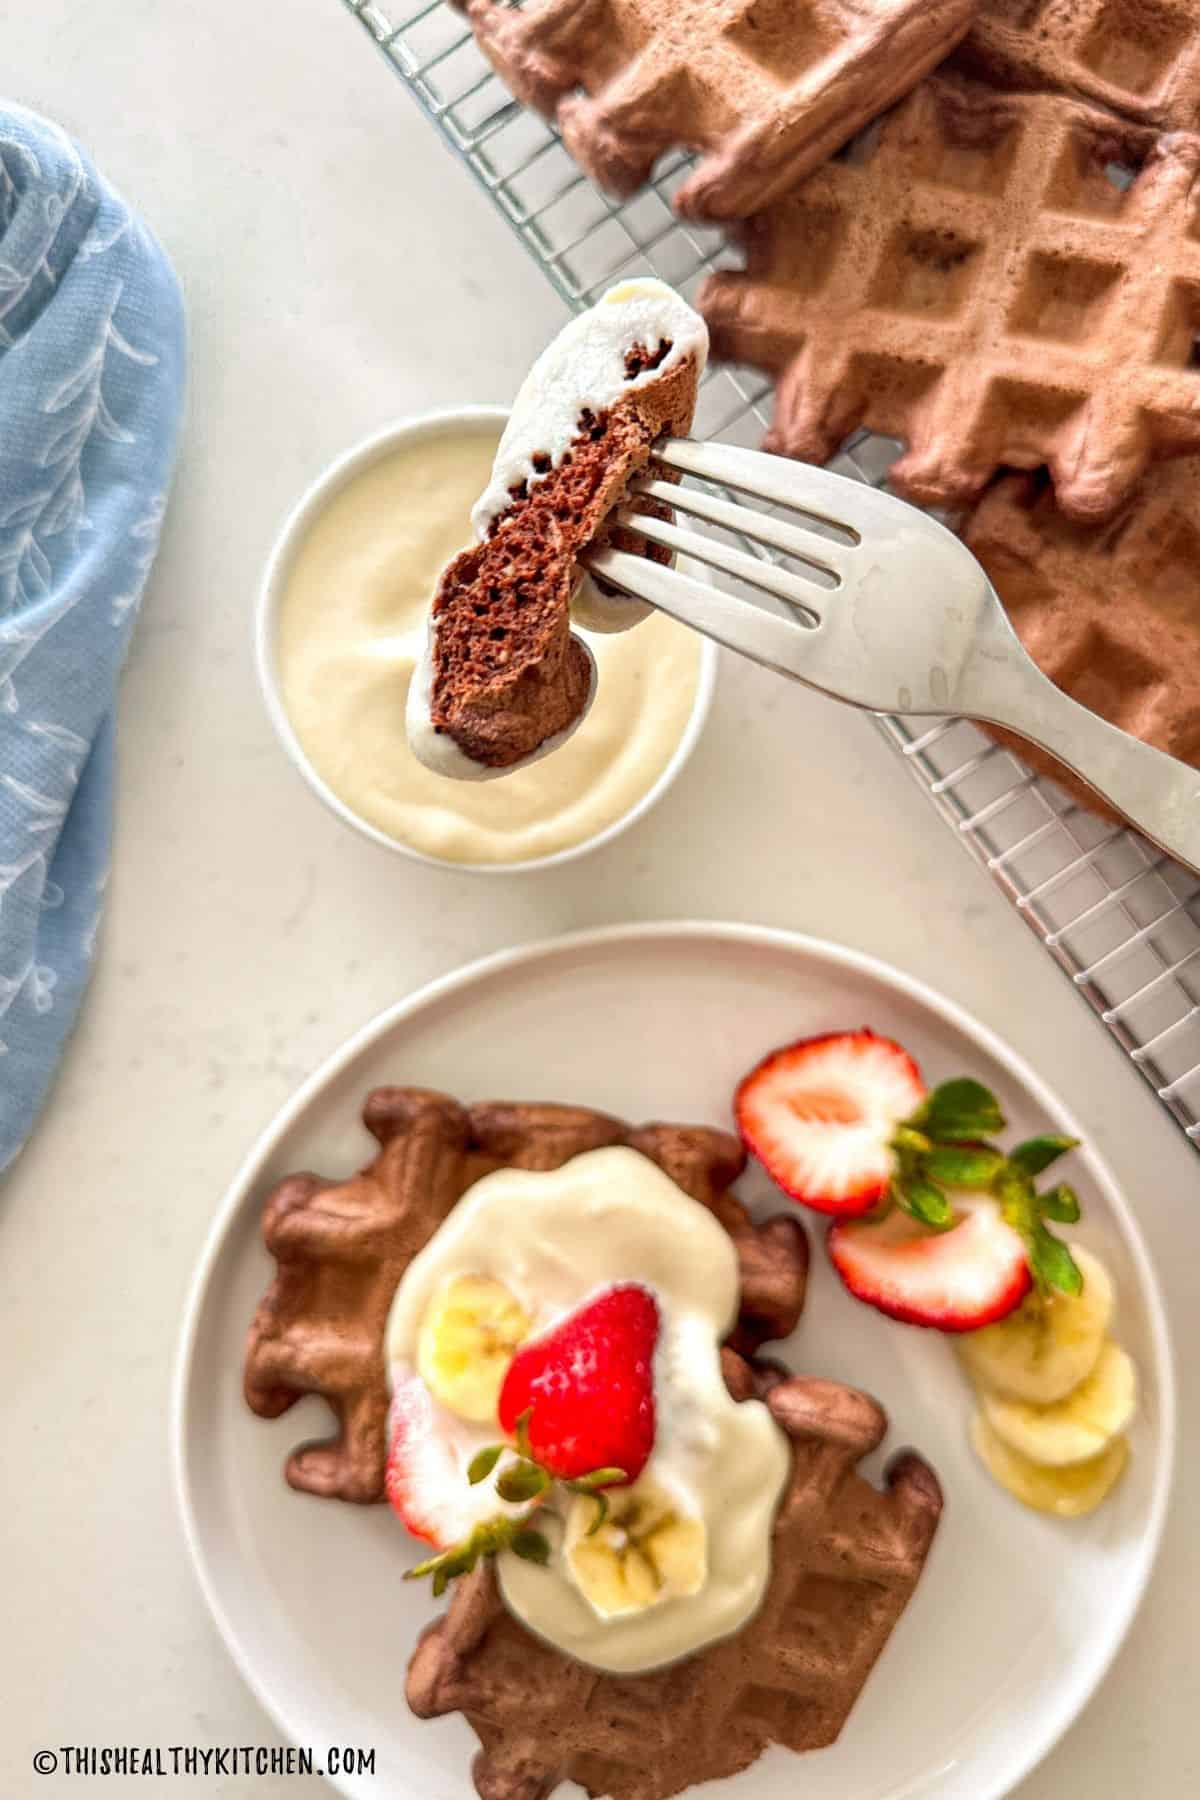
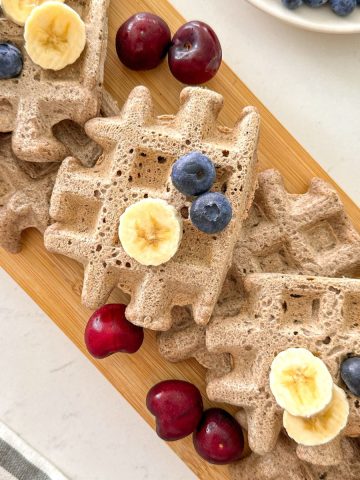
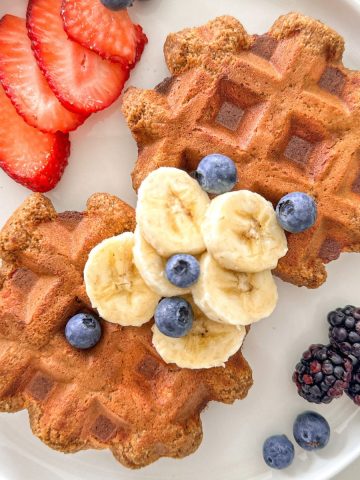
Topping suggestions
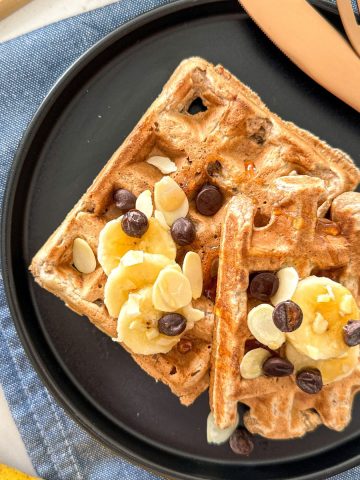
- Sliced banana, strawberries, blueberries, blackberries, cherries, raspberries, or any fresh berries or fruit.
- Chocolate chips, homemade Nutella, our nut-free chocolate spread or chocolate shavings.
- Drizzled peanut butter, almond butter, cashew butter, pistachio butter, or another seed or nut butter you enjoy.
- Maple syrup, date syrup, or blueberry or strawberry jam.
Equipment
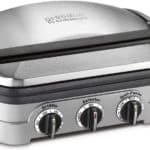
I use this Cusinart Griddler with these waffle plates. (affiliate link)
I like this particular Griddler because it’s one appliance I can use to make pancakes, grilled veggies, AND waffles.
If your waffle iron tends to stick, use a little cooking spray or coconut oil.
Storage
Keep leftovers refrigerated for 3-4 days in a sealed container.
To freeze, wait until the waffles are completely cooled to room temperature, and then store them in an airtight container or ziptop bags for up to 3 months in your freezer.
You may reheat these chocolate waffles in your toaster from frozen, or use a warm oven or toaster oven.
Expert Tips
- Weigh your flour for the best results. If scooping from a bag, you may have too much and need more liquid to get the batter to the right consistency.
- If you don’t have a kitchen scale, spoon the flour into your measuring cup and use a knife to scrape off the excess.
- Make sure your waffle maker is HOT before adding the waffle batter to it, to prevent sticking.
- Do not lift the lid too soon or your waffles may break. Instead, lift the lid slowly and carefully to check for sticking.
- Subsequent batches of waffles cook a little faster than the first batch so watch closely.
More delicious vegan waffles
If you tried this recipe, please let me know in the comments below. I always love hearing from you! Don’t forget to Subscribe to This Healthy Kitchen to be among the first to get my new recipes! You can also FOLLOW ME on Facebook, Instagram, Pinterest, and YouTube to see more delicious food.
Buon appetito
Rosa
📖 Recipe
Equipment
Ingredients
- 120 grams whole wheat flour approx. 1 cup
- 3 tablespoons cocoa powder
- 2 teaspoons baking powder
- 1 cup soy milk or non-dairy milk of choice
- 1 tablespoon pure vanilla extract
Instructions
- Preheat your waffle maker over medium-high heat, or according to its manufacturer's directions.
- Add the flour, cacao powder and baking powder to a large mixing bowl and whisk until combined. Then add the milk and vanilla and stir until no floury bits remain, without overmixing.
- Ladle the batter onto your preheated waffle iron and cook according to the manufacturer's directions, approx. 4-6 minutes, or until the desired doneness is reached.
Notes
- Weigh your flour for the best results. If scooping from a bag, you may have too much and need more liquid to get the batter to the right consistency.
- Weigh your flour and powder for the best results. If scooping from a bag, you may have too much and need more liquid to get the batter to the right consistency.
- If you don’t have a kitchen scale, spoon the flour into your measuring cup and use a knife to scrape off the excess.
- Make sure your waffle maker is HOT before adding the waffle batter to it, to prevent sticking.
- Do not lift the lid too soon or your waffles may break. Instead, lift the lid slowly and carefully to check for sticking.
- Subsequent batches of waffles cook a little faster than the first batch so watch closely.
Leave a Comment + Star Rating ⭐⭐⭐⭐⭐